Lesson One: Getting Started (Materials)
So, you want to draw. Great. Drawing is a fantastic way to relax, express one's creativity and ideas. It has existed since the beginning of time from a scribble on the wall to graffiti and murals.
Art is everywhere.
In our first lesson we will discuss the different types of materials you need to get started.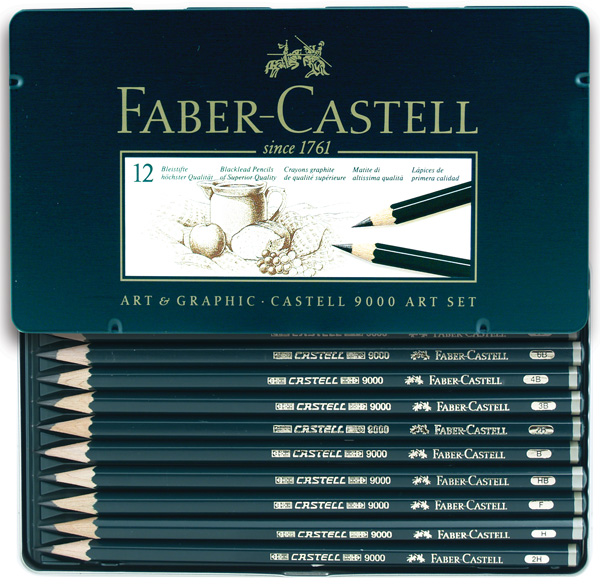
1. A Pencil
A regular pencil is good enough to start, but once you have warmed up, done a few sketches maybe a drawing or two, having a variety of different pencils can benefit your artwork. There are various types of pencils ranging from 9H to 9B. My preferred pencils are H, 2B, 4B, and 6B. I have never had to use anything darker than a 6B.
There is no need to go out and buy every pencil in the grading scale, a simple set of four or six pencils will do. You can pretty much obtain the same values with two or three by adding more or less pressure.
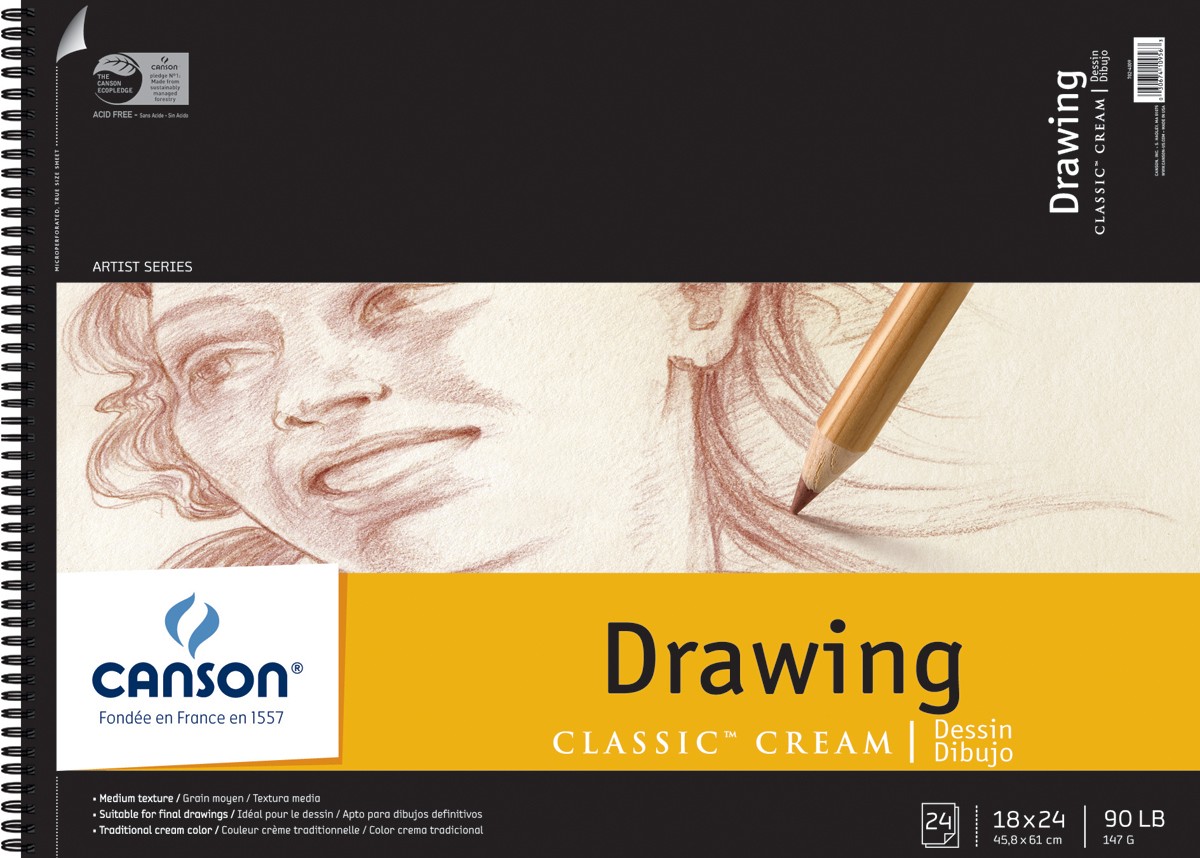 2. Drawing Paper
Copy paper can only go so far, its surface doesn't allow for much layering and it goes flat very quickly. Drawing paper is heavier and comes in a variety of textures that help the graphite stick better. Not to mention the scope of different colors it comes in. When you branch out to charcoal the color of the paper will play a very important role in the overall image you are striving for.
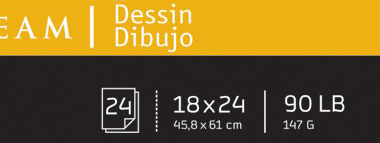
Remember to check its specs, which are usually on the left or right bottom side of the pad, to see how much the paper weighs, the size and the type of surface it has.
 3. Erasers
If you are going to draw you also need an eraser to create highlights, lighten an area if a lighter value is desired, and to erase any unwanted graphite. There are five types of erasers. Rubber and vinyl are the most common and known erasers. They are also the most cheap. Vinyl erasers are also used to lift masking fluid when painting with watercolors.
There are gum and kneaded erasers. A gum eraser crumbles like the rubber and vinyl, but is softer and doesn't leave a trail or damage the paper. A kneaded eraser is my most favorite. It is the only eraser you can mold and twist to the size and shape you want. And the best part is you knead and fold to clean it.
And then there is an Erasil, an eraser in the shape of a pencil. You sharpen it like a regular pencil and can use it for fine details. Never used it myself and not many people use it anymore. I prefer a kneaded eraser, it does the same job minus the need to keep sharpening it and did I mention it pretty much cleans itself.
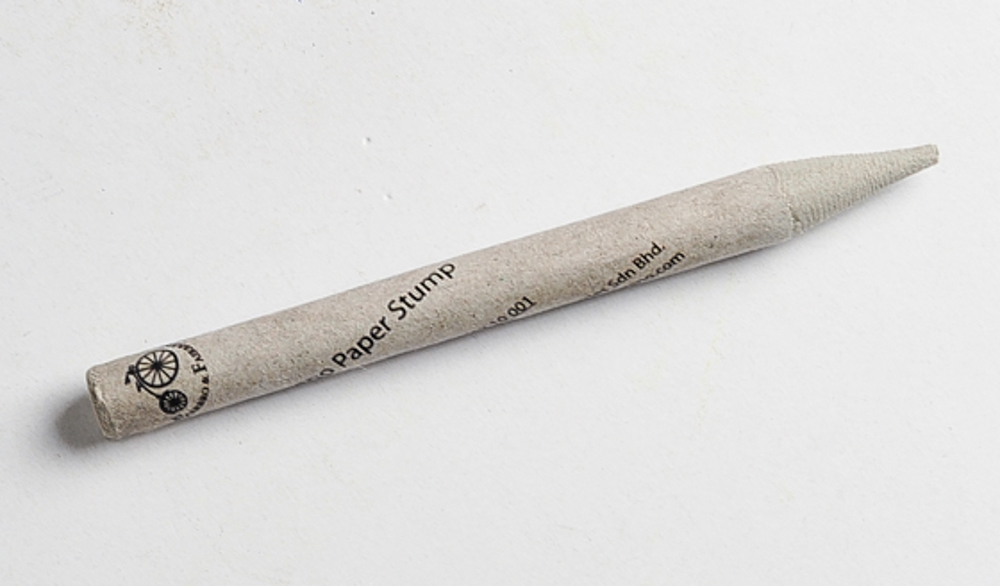
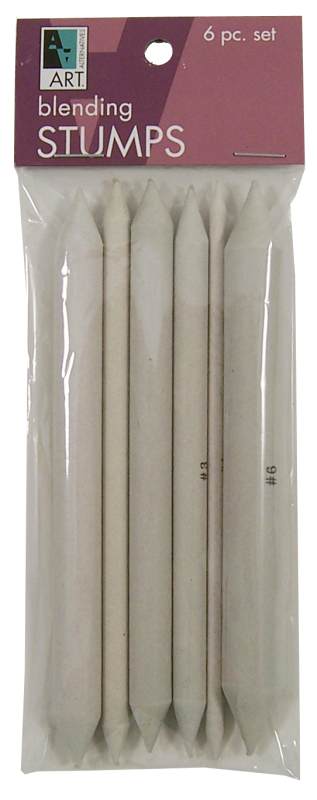 4. Blending Tools
Blending plays a great part in drawing, even painting. There are many ways you can achieve blending, by smoothing in different values with a pencil, or by using a blending tool. Blending stumps and Tortillions come in various sizes that allow you to blend different areas of a drawing. Blending Stumps are double sided so if one side dulls out you simply use the other end. Also you can clean a stump with sandpaper.
But, if you don't have the time to shop for either a paper towel or a cotton q-tip will do in a pinch. You can roll up the paper towel to the size you need or fold it over your finger and blend. Never use your bare fingertip, the oil from your skin can ruin your work.
Extra Materials
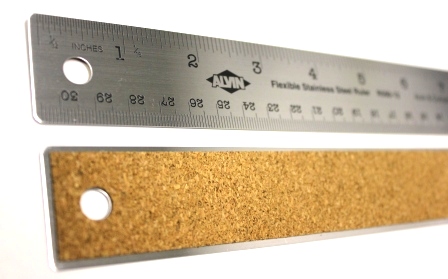
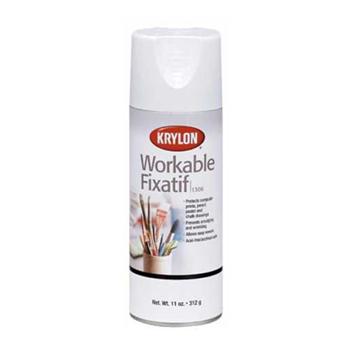
There are many other materials that are useful and help make drawing easier. A ruler can help tighten a drawing and create smoother straight lines not to mention work great to create guidelines when working with perspective. And when dealing with graphite and pastels you usually work in layers. Workable fixative helps to protect your artwork in between those layers and drawing sessions. Just make sure you apply the fixative in a well ventilated area and in a swaying motion.